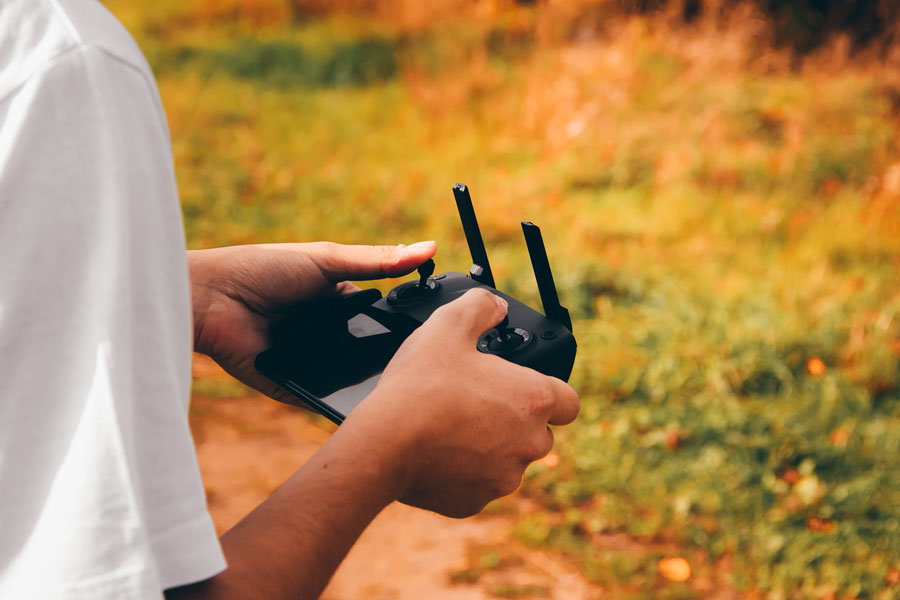
Drones have become increasingly popular in recent years, offering a variety of uses ranging from recreational flying to professional photography and videography. These versatile devices rely on a remote controller and transmitter to communicate with the drone and control its movements.
Keeping your drone’s remote controller and transmitter in tip-top shape is essential for ensuring smooth and accurate drone operation. In this article, we will discuss the steps necessary to maintain and prolong the life of your drone’s remote controller and transmitter.
Get the latest articles in your inbox fresh and ready to read …
Get the New To Drones "All Access Pass"
All Access Pass members enjoy unlimited access to entire articles – 100% FREE
By signing up you agree to our Terms of Service and Privacy Policy. You also agree to receive our newsletters (you can easily and quickly opt-out at any time).
You will receive free access to all of our articles while you are a member of the site.
Step 1: Cleaning Your Remote Controller & Transmitter
To keep your drone’s remote controller and transmitter operating at their best, it’s important to regularly clean them. This will help to prevent dirt, dust, and debris from interfering with their functionality. Follow these steps to clean your remote controller and transmitter:
Gather necessary supplies
Before beginning the cleaning process, gather the necessary supplies. You will need:
- A soft, lint-free cloth
- A small brush or toothbrush
- Isopropyl alcohol or electronic cleaning spray
- Cotton swabs or Q-tips
Remove dirt and debris from exterior surfaces
Using the soft, lint-free cloth, gently wipe down the exterior surfaces of your remote controller and transmitter. This will help to remove any dirt, dust, or debris that may have accumulated on the surface.
Clean interior components with a damp cloth
For more stubborn dirt and grime, dampen the cloth with a small amount of isopropyl alcohol or electronic cleaning spray. Gently wipe down the interior components of your remote controller and transmitter, being careful not to damage any delicate parts.
Allow to air dry before use
After cleaning, allow your remote controller and transmitter to air dry completely before using them again. This will help to prevent any moisture from causing damage to the internal components.
Step 2: Inspect for Damage or Wear on Components
Regularly inspecting your drone’s remote controller and transmitter for signs of damage or wear is essential for maintaining their optimal performance. Keep an eye out for the following issues:
Check antenna for bends or breaks
The antenna is a crucial component of your drone’s transmitter, as it allows for the communication between the drone and the remote. Inspect the antenna for any bends or breaks, as these can significantly impact the range and performance of your drone. If you notice any issues, consider replacing the antenna.
Look for any signs of corrosion on connectors, cables, and switches
Corrosion can occur on any metal components within your remote controller and transmitter, particularly in areas with high humidity or exposure to moisture. Check for any visible signs of corrosion on connectors, cables, and switches. If you find any corroded parts, they should be replaced to ensure optimal performance.
Replace any parts that are worn out or damaged
Over time, certain components of your remote controller and transmitter may become worn out or damaged. Regularly inspect your equipment and replace any parts that appear to be worn or damaged to maintain the best possible performance.
Step 3: Perform Regular Maintenance Checks
In addition to cleaning and inspecting your drone’s remote controller and transmitter, it’s also important to perform regular maintenance checks. These checks will help to ensure that your equipment is functioning properly and can help to prevent any potential issues before they become more serious problems.
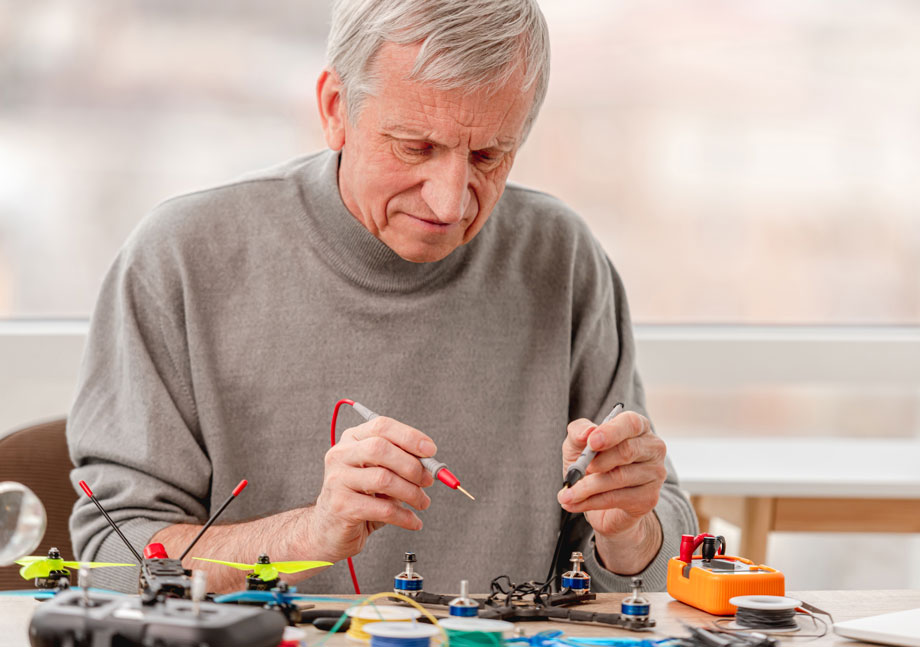
Check battery levels regularly
The batteries that power your remote controller and transmitter are crucial for their operation. Regularly check the battery levels to ensure that they have sufficient power for your drone’s intended use. Replace batteries when necessary to prevent any unexpected power loss during flight.
Ensure all connections are secure
Loose connections between your remote and transmitter can cause communication issues between your drone and controller. Regularly check to ensure that all connections are secure and functioning properly.
Test range and distance between transmitter and receiver
To ensure that your drone’s remote controller and transmitter are functioning optimally, regularly test the range and distance between the transmitter and receiver. This can help to identify any potential issues before they become more serious problems.
Update firmware when available
Manufacturers often release firmware updates for their remote controllers and transmitters. These updates can help to improve performance and functionality, so it’s essential to update your equipment when new firmware becomes available.
Cleared for Takeoff
Keeping your drone’s remote controller and transmitter in tip-top shape is essential for ensuring smooth and accurate drone operation. By regularly cleaning your equipment, inspecting for damage or wear, and performing regular maintenance checks, you can help to prolong the life of your drone’s remote controller and transmitter.
Remember to check batteries, connections, range and distance, and update firmware often to ensure that your drone remains in optimal working condition.

