The art of photography is constantly evolving, and one of the most exciting developments in recent years has been the introduction of drone technology. Drone photography and proper pre-flight preparation allows photographers to capture stunning aerial images that were once only accessible to those with a helicopter or plane.
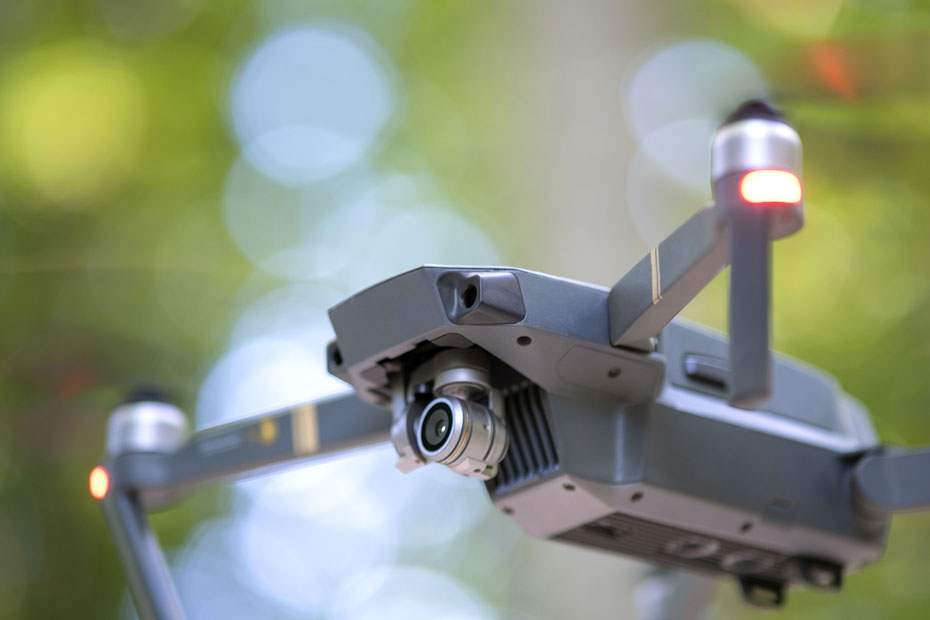
These unique perspectives can greatly enhance your portfolio and set your work apart from others in the field. This article will provide an overview of some of the benefits of using a drone for photography, as well as tips for pre-flight preparation, in-flight techniques, and post-flight editing and publishing.
Get the latest articles in your inbox fresh and ready to read …
Get the New To Drones "All Access Pass"
All Access Pass members enjoy unlimited access to entire articles – 100% FREE
By signing up you agree to our Terms of Service and Privacy Policy. You also agree to receive our newsletters (you can easily and quickly opt-out at any time).
You will receive free access to all of our articles while you are a member of the site.
Drone Photography and Pre-Flight Preparation
Before embarking on a drone photography adventure, it is crucial to adequately prepare. Pre-flight preparation is essential to ensure that your drone flight is not only safe but also productive in capturing the images you desire. Here are a few key steps to help you prepare for your drone photography session:
1. Research the area you will be flying in and check for any restrictions or regulations. Drone laws and regulations can vary significantly depending on your location, so be sure to familiarize yourself with the rules in your area. Some locations may require permits, while others may have strict no-fly zones. It is essential to know and follow these guidelines to avoid fines or other legal repercussions.
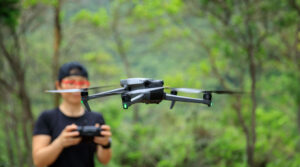
2. Familiarize yourself with your drone, its functions, and safety protocols. Before attempting any drone photography, ensure that you are comfortable operating your drone and understand its various features and functions. Take the time to practice flying your drone in a safe open space, and familiarize yourself with its controls and safety features.
3. Make sure to have all necessary accessories such as extra batteries, memory cards, etc., available before flight time. Nothing is more frustrating than running out of battery power or memory in the middle of a photography session. Ensure you have spare batteries, memory cards, and any other essential accessories on hand to keep your drone photography session running smoothly.
In Flight Tips & Techniques
Once you have completed your pre-flight preparations, it’s time to get creative and capture some stunning aerial images. Here are some in-flight tips and techniques to help you make the most of your drone photography experience:
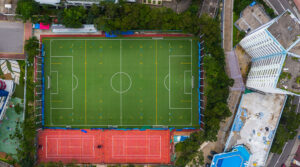
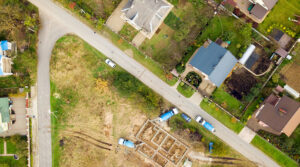
1. Get creative – look up different camera angles and experiment with them during your flight! One of the most significant advantages of drone photography is the ability to capture unique perspectives. Experiment with various camera angles and heights to find the perfect shot. Consider shooting from directly above your subject, at a low angle, or even with the camera tilted for added interest.
2. Use manual mode – this allows more control over settings such as shutter speed, ISO, aperture, etc., resulting in better quality images. Although many drones have automatic settings, utilizing manual mode can provide you with greater creative control over your images. This can be especially helpful in challenging lighting conditions or when trying to capture specific effects, such as motion blur or shallow depth of field.
3. Adjust exposure compensation to get the right balance between shadows and highlights in each shot. Drone cameras can sometimes struggle to accurately capture scenes with both very bright and very dark areas. Manually adjusting the exposure compensation can help you achieve a more balanced exposure, resulting in better overall image quality.
4. Take multiple shots from different heights/angles so that you have plenty of options when it comes to editing later on. As with any form of photography, it’s always a good idea to take multiple shots of each scene. This not only provides you with a variety of options during the editing process but also increases the likelihood of capturing the perfect image.
Post-Flight Editing & Publishing
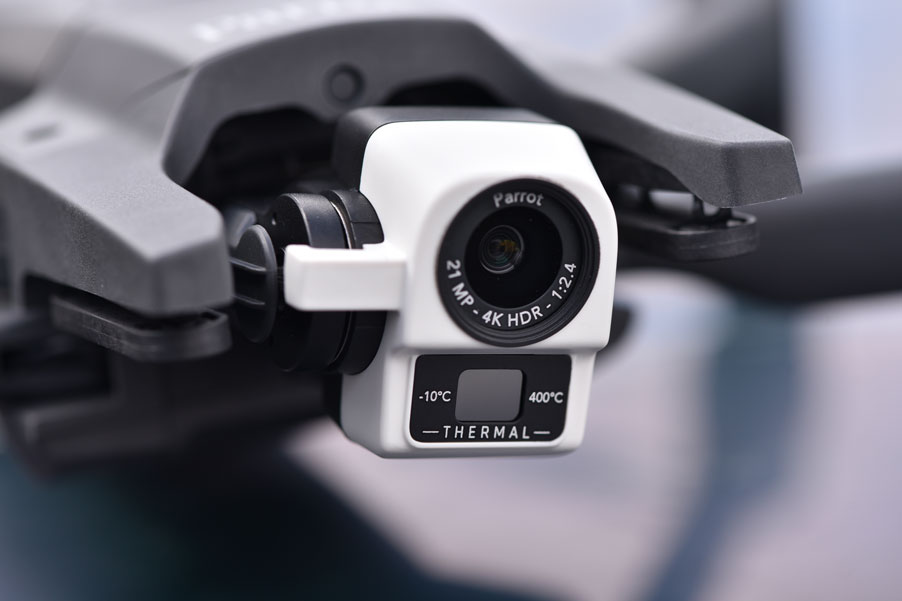
1. Choose the best photos from your session. Carefully review your images and select the ones that best showcase your subject and creative vision. Be critical and only choose the photos that truly stand out.
2. Edit them accordingly (cropping, adjusting brightness/contrast/saturation levels, etc.). Once you have selected your best images, use photo editing software to enhance their appearance. This may involve cropping, adjusting brightness, contrast, and saturation levels, or applying filters and effects to create a particular mood or style.
3. Publish them online via social media platforms or portfolio websites. Once your images have been edited to your satisfaction, share them with the world! Post your drone photography on social media platforms, such as Instagram or Facebook, or add them to your online portfolio. This not only showcases your work to a broader audience but also helps you build a professional presence in the photography community.
Cleared for Takeoff
Drone photography offers an exciting and unique way to capture stunning images that can truly set your portfolio apart. By carefully preparing for your drone photography session, experimenting with various in-flight techniques, and thoughtfully editing your images, you can create captivating aerial photographs that will impress both clients and peers. So go ahead, take to the skies, and let your creativity soar!

