Drone real estate photography is an innovative and increasingly popular way for both real estate agents and property owners to showcase their properties in a unique and eye-catching manner. Using drones, photographers are able to capture stunning aerial shots that elevate the presentation of a property to new heights and offer potential buyers a fresh perspective.
In this short guide, we will provide step-by-step instructions for conducting a successful drone photo shoot. Utilizing these tips and tricks, you’ll be able to capture jaw-dropping images that will make any property stand out in today’s competitive market.
Get the latest articles in your inbox fresh and ready to read …
Get the New To Drones "All Access Pass"
All Access Pass members enjoy unlimited access to entire articles – 100% FREE
By signing up you agree to our Terms of Service and Privacy Policy. You also agree to receive our newsletters (you can easily and quickly opt-out at any time).
You will receive free access to all of our articles while you are a member of the site.
Step 1: Prepare Your Drone for Flight
Safety Considerations When Flying a Drone
Before you embark on your drone real estate photography mission, it’s crucial to prioritize safety during every aspect of your flight.
Read up on drone safety guidelines and always abide by them, as well as familiarizing yourself with the specific features and limitations of your drone model.
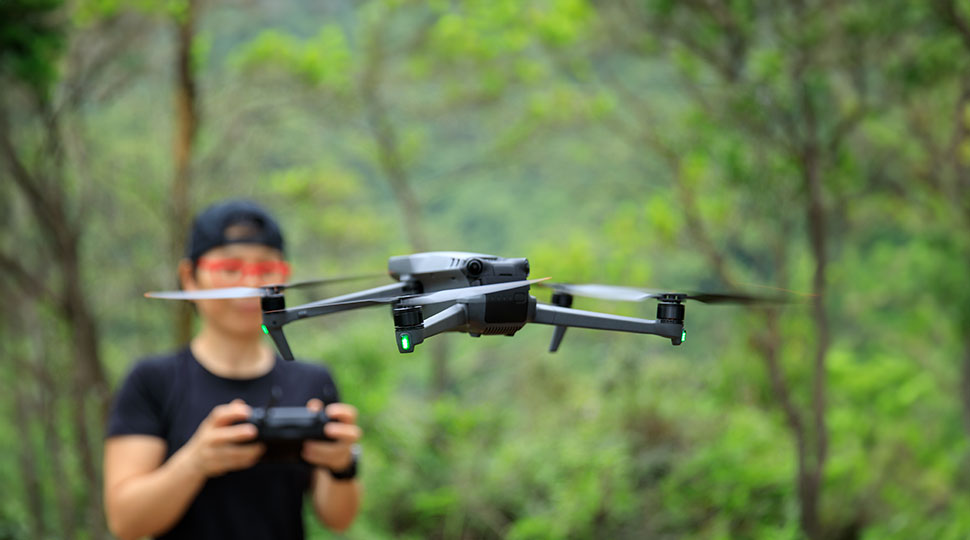
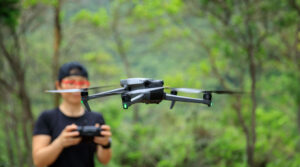
Never fly your drone in crowded spaces or near people, and always maintain a clear line of sight to the drone while it’s in the air.
Pre-Flight Checklist and Procedures
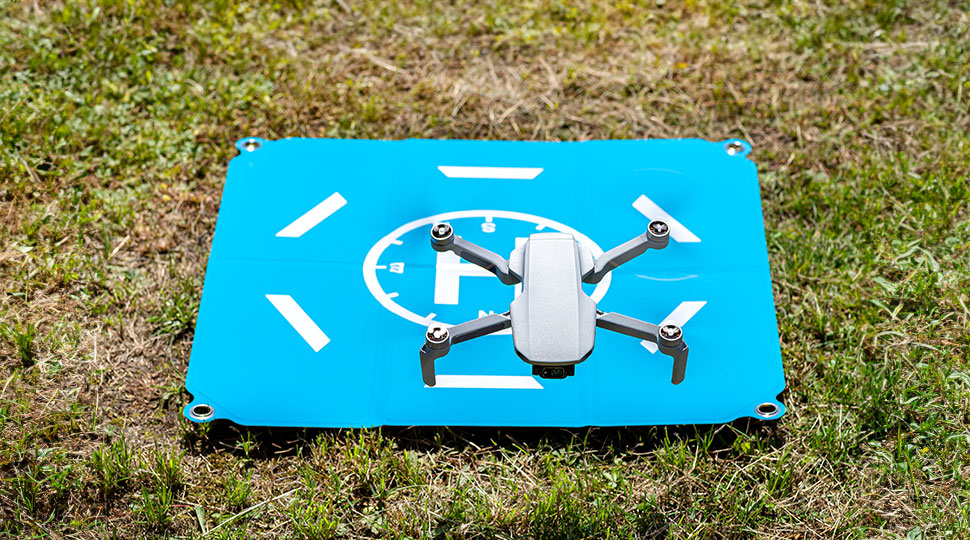
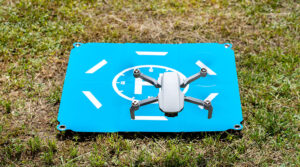
Before taking off, be sure to conduct a thorough pre-flight check to ensure that your drone is in optimal condition for flying.
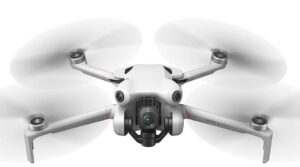
This may include verifying that all batteries are fully charged, ensuring that the drone’s propellers are properly attached and free of damage, and checking that the gimbal and camera are securely mounted and functioning correctly.
Also, verify that your remote control and any mobile devices or monitors used for live view are properly functioning and set to the correct frequencies.
Step 2: Research the Location Ahead of Time
Identify Potential Obstacles That May Interfere with Your Flight Path or Photo Shoot
Before arriving at the property you’ll be photographing, it’s essential to research and familiarize yourself with the location in advance.
This includes identifying potential obstacles such as trees, power lines, or other structures that might obstruct your flight path or affect your photos.
Making note of these obstacles will enable you to plan your shots more effectively and avoid any surprises during your flight.
Choose an Appropriate Time to Fly Based on Weather Conditions, Lighting
It’s equally important to select an appropriate time for your drone real estate photography shoot. Weather conditions play a significant role in the quality of your photos.
It’s generally best to avoid flying on days with strong winds, heavy rain, or thick cloud cover, as these conditions can negatively impact your image quality and overall safety.
You should also consider the lighting; scheduling your shoot during the “golden hours” (early morning, or late afternoon) can often result in the most flattering lighting, casting soft shadows and adding depth to your images.
Familiarize Yourself with Local Regulations Regarding Drones and Airspace Restrictions
Before embarking on any drone photography mission, it’s critical to be aware of the local rules and regulations governing drone flights.
This may include obtaining necessary permits, following altitude limits, and staying away from regulated or restricted airspace.
Familiarizing yourself with these regulations will ensure that your shoot remains within the bounds of the law and helps maintain a good reputation for the drone real estate photography industry.
Step 3: Take Test Shots Before You Begin Photographing the Property
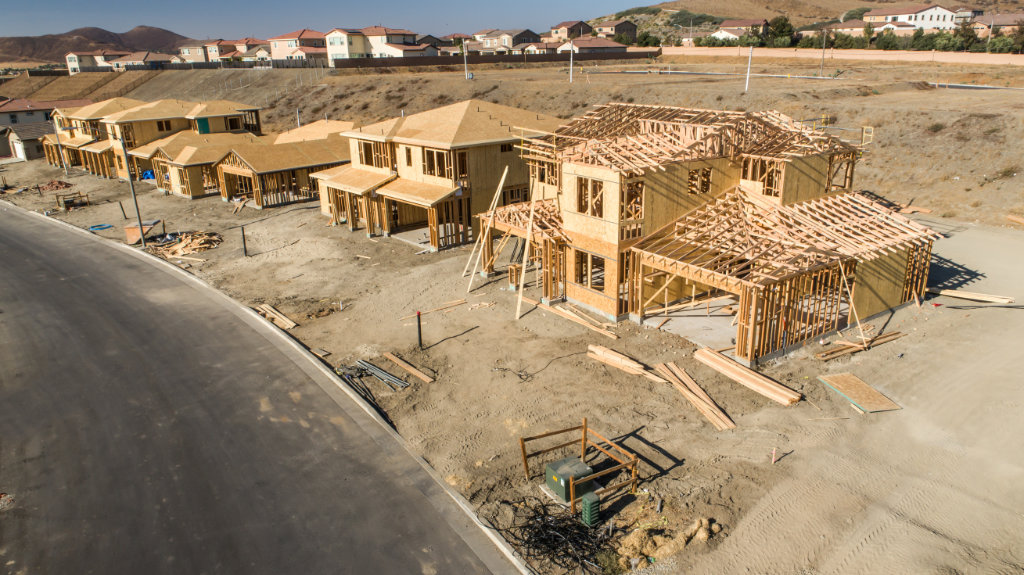
Use Test Shots to Assess Image Quality and Adjust Settings as Needed
Before you begin shooting, take multiple test shots to assess the image quality and fine-tune your settings.
Adjusting elements like exposure, white balance, and focus can make a substantial difference in the overall quality of your final images. Test shots give you the opportunity to zero in on the best settings before starting the actual shoot.
Test Out Different Angles and Distances from the Property Before You Begin Shooting
Finding the perfect angle for your drone shots is essential to capturing stunning images. Experiment with different distances, heights, and angles to find the most flattering perspectives for the property, emphasizing its features and downplaying any potential shortcomings.
Try to capture a variety of wide shots and close-ups to create a comprehensive, attractive portfolio of the property.
Step 4: Capture Jaw-Dropping Photos
Utilize Various Camera Settings such as Aperture, Shutter Speed, ISO
Drone real estate photography provides a unique opportunity to experiment with various camera settings — including aperture, shutter speed, and ISO — in order to achieve the perfect shot.
Don’t be afraid to adjust these settings as needed to optimize your images for the specific conditions of your location, lighting, and subject matter.
Experiment with Creative Angles
One of the advantages of drone photography is its ability to capture unique angles that traditional ground-based photography cannot achieve.
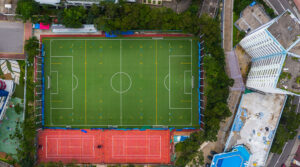
Think outside the box when planning your shots, such as photographing the property from directly above or capturing a bird’s-eye view of the surrounding area.
These eye-catching angles are an excellent way to make your images stand out in a crowded real estate market.
Get Creative with Editing Techniques
Once you’ve captured a collection of high-quality drone images, use editing software to enhance and refine your images further.
This may include cropping, color correction, or adding filters to create visually stunning images that will make your property look its best.
Cleared for Takeoff
With these steps in mind, you are now prepared to embark on your drone real estate photography journey. Combining preparation, safety considerations, and creativity in your approach will undoubtedly result in a successful, visually striking collection of images that will help your property stand out from the competition.
Now you are cleared for takeoff and ready to explore the world of drone photography in real estate.

